Before You Pull Your Lid On: Nine Small Checks That Punch Above Their Weight

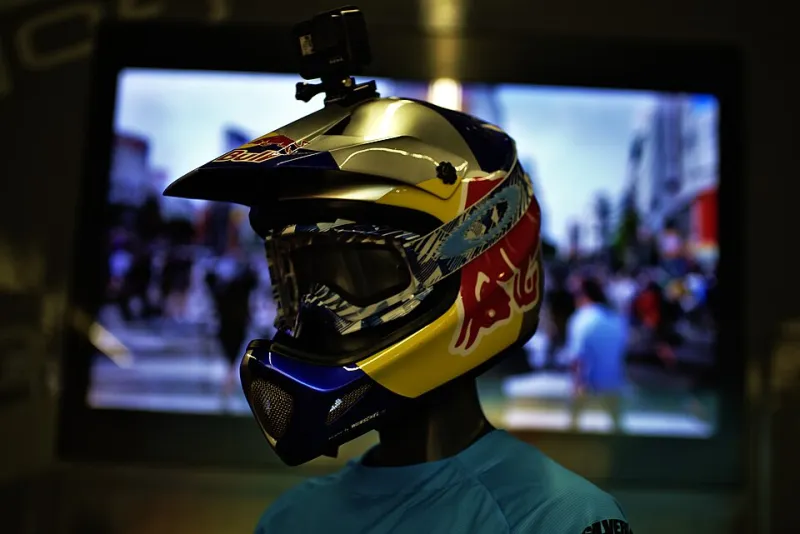
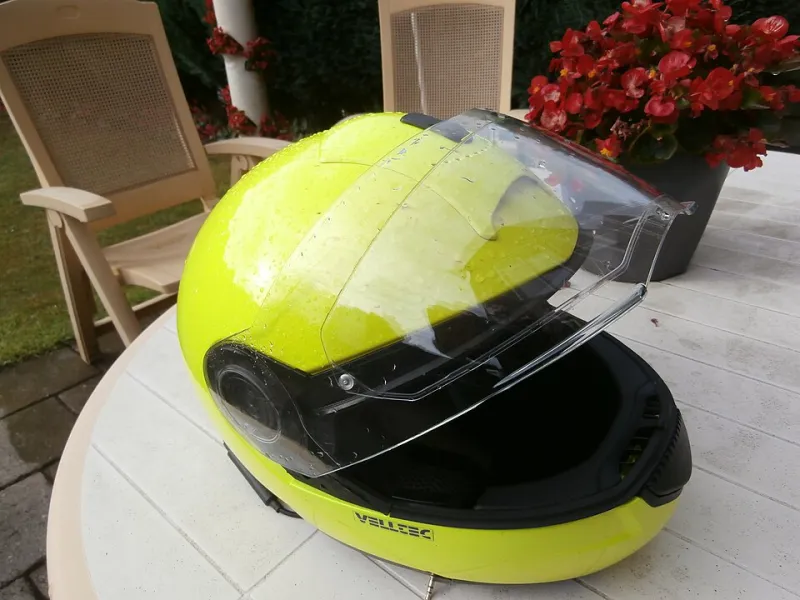
Photo: Timmylegend, CC BY-SA 4.0, via Wikimedia Commons
Sunday morning, kettle on, gloves warming on the radiator. Before you pull your lid on, give it five minutes. This is not a full MOT, and it is not an excuse to buy a new helmet. It is a quiet once-over that catches the stuff UK riding throws at your gear: rain, road salt, damp sheds and the occasional dropped kit bag. Here are nine small checks that punch above their weight.
1. Strap webbing and stitching
Run the strap through your fingers. Look for fraying, cuts, faded webbing and loose stitching. A strap that has been twisted or caught in a locker for months can look fine until it is load-bearing. Check the D-rings for rust and sharp edges. If the webbing is damaged, stop using the helmet and get advice.
2. Buckle or quick-release
Click it, unclick it, click it again. Grit from a winter commute can make a quick-release sticky. Clean it with a dry brush, not oil. If it releases under a gentle tug when it should be locked, or feels mushy, get it checked. A strap that lets go is not a maintenance niggle.
3. EPS liner
Take out the cheek pads if your helmet allows. The EPS, the crushable foam, should look intact, not cracked, crumbly or compressed in one spot. Do not poke it with a screwdriver. If the helmet has had a proper impact, with or without a visible mark, the liner has done its job and should be retired. A secondhand lid with unknown history is a gamble.
4. Shell and edge trim
Look along the shell for deep gouges, cracks or lifting trim. A stone chip is cosmetic. A split is not. Keep solvents, petrol and harsh cleaners away from the shell. Stickers are fine, but check they are not hiding damage.
5. Liner and cheek pads
Most liners are removable. Wash them in lukewarm water with a mild soap or helmet-specific cleaner, rinse well, and air dry away from radiators. Do not tumble dry. A clean liner helps the helmet fit properly and stops the damp-helmet smell that makes a long ride miserable.
6. Visor seal and channel
Close the visor and look for gaps. Check the rubber gasket for flattening, splits or grit. Clean the channel where water drains. If rain tracks down the inside of the visor, a new seal or a clean, seated visor can fix it before you blame the helmet.
7. Hinges, screws and ratchets
Visor mechanisms collect road grime. Check screws are snug but not over-tightened, and that the visor clicks through its positions. A floppy visor that drops at speed is distracting. Follow the manual, as some parts need a specific torque or a dab of silicone grease.
8. Vents and breath guard
Open and close every vent. Clear out leaves, salt and the occasional spider. A breath guard and chin curtain are cheap winter wins. They reduce fogging and wind chill. If the vent foam is perished, replace the part rather than the whole helmet.
9. Storage, age and the drop test
Store the helmet in a bag, away from direct sun, petrol fumes and damp sheds. Check the manufacture date inside. Many makers suggest replacing a helmet after about five years of regular use, and sooner after a significant impact. That is guidance, not a countdown timer, but if the liner is crumbling and the shell is tired, it is time.
The five-minute order
Shell, strap, liner, visor, vents, storage. If you find a problem, fix the part or get advice. You do not need a new lid every Sunday. You do need to know the one you have is still doing its job. Then put the kettle on again. You have earned it.